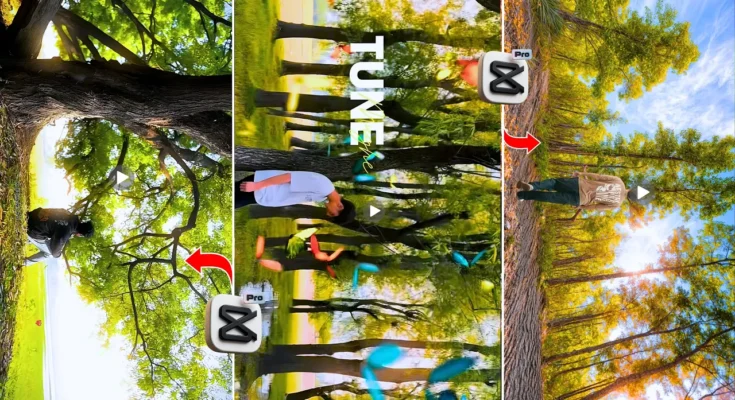
How to Edit Cinematic Reels Like a Pro Using CapCut: Step-by-Step Tutorial
Hey guys! You’ve clicked on the perfect video (or in this case, blog post) because today I’ll show you, step by step, how to edit professional cinematic reels right from your phone. From shooting to slow motion, effects, filters, and final color grading — everything will be covered in detail so you can turn a normal clip into a pro-level cinematic reel.
Why Cinematic Reels Are Trending
Cinematic reels are all over Instagram Reels and TikTok right now. These are smooth, slow-motion videos with film-style tones and emotional audio. Even if you shoot on your phone, the right editing can make it look like a DSLR-quality cinematic short!
Step 1: Install the CapCut App
First things first — you’ll need the CapCut app on your phone. If you don’t already have it, download it from the Google Play Store or App Store.
Once installed, open CapCut and tap on “New Project.” Import the video clips you’ve shot — whether from your phone camera or any other device. For best results, keep your clips short (around 2–3 seconds each).
Step 2: Add and Sync Music
Every cinematic reel needs the right soundtrack. Start by muting your original video’s audio. Then, tap on the “Audio” option → “Sounds” → “From Files” and import a trending cinematic song or reel audio you’ve saved earlier. You can find thousands of trending audios on Instagram Reels Audio.
Once added, use the Auto Beat Sync option in CapCut. Tap “Auto Beat” to let the app automatically detect beat points in your audio — perfect for adding transitions or effects right on the beat.
Step 3: Arrange and Trim Your Clips
After syncing the beats, arrange your clips in the right order. If you want a later clip to appear first, just long-press and drag it to the front. Trim any extra parts of each clip using the “Split” tool to keep transitions tight and smooth.
Step 4: Apply Smooth Slow-Motion Effects
This is the magic part! Tap on your clip → “Speed” → “Curve” → choose a graph preset or create your own by adjusting points. For cinematic looks, try the Slow In–Slow Out motion. You can then enable “Better Quality” and “Smooth” for that buttery-smooth slow-motion effect.
Repeat this step for every clip you’ve added — yes, all 10, 15, or 20 of them if needed! Once done, play it back and see how natural and fluid the motion looks.
Step 5: Add Animation Effects
Now let’s bring some energy into your footage with CapCut’s Animation tools. Go to “Animation” → “In” and choose a subtle entry effect like Fade In or Zoom In. Keep it short (0.5 seconds).
Then, in the “Combo” section, you can find cinematic effects like Light Flicker or Zoom Flow that blend perfectly with your song’s mood. Apply different animations to different clips to maintain variety while staying consistent.
Step 6: Add Transitions Between Clips
Transitions make your reel feel professional. Tap between two clips → select “Transition” and explore Light Leaks, Blur, or Motion Transitions. Use transitions only at key beat points — don’t overdo them! Subtle transitions synced to music look best for cinematic edits.
Step 7: Use Trending Video Effects
Head to “Effects → Video Effects” and explore the “Trending” section. Effects like Dreamy Glow, Butterfly Overlay, or Light Rays are popular for emotional or aesthetic reels. Apply these effects sparingly — too many will make your edit look cluttered. Keep your look minimal for true cinematic vibes.
Step 8: Add Filters and Color Grading
Filters and color adjustments give your reel that final movie look. Go to “Filter” and choose “Modern” at around 60% strength. You can layer this with a Green-Orange filter set at 20% for that warm Hollywood feel.
Then head into “Adjust” and fine-tune settings:
- Brightness: Slightly -10
- Contrast: +20
- Saturation: +10
- Sharpness: +20
- Shadows: -5
- Temperature: -10 (for cooler tones)
Finally, go to the HSL section for color grading:
- Red tone: Increase lightness slightly
- Orange tone: Lightness +70, Saturation +40 for natural skin tone
- Yellow tone: Slightly higher for warm backgrounds
- Green tone: Add minor highlights for cinematic depth
- Blue tone: Boost for sky and cool tone balance
Step 9: Add the Final Golden Glow Effect
For the finishing touch, go back to “Video Effects” and choose “Dreamy Glow” from the Trending section. Adjust its intensity to make your video shine subtly without overexposure. This soft golden tone adds a professional cinematic look to your reel.
Step 10: Export in Ultra HD
Once you’re happy with your video, it’s time to export it. Tap on Export → set the resolution to 1080p, frame rate to 30fps, and bitrate to default. Then click Save to Device or upload directly to Instagram Reels or TikTok.
Final Results and Tips
After exporting, you’ll see how beautifully your cinematic reel came out — smooth motion, professional tone, and perfect color balance. Don’t forget to experiment with different filters and tones depending on your song’s vibe. If it’s a sad song, use darker, warmer tones; if it’s upbeat, go for vibrant filters.
For more editing ideas, check out:
- CapCut Official Tutorials
- How to Create a Cinematic Look (Pixels Blog)
- Cinematic Reels Editing Tutorials on YouTube
Conclusion
And that’s it! You’ve just learned how to turn simple clips into trending cinematic reels using the CapCut app. Keep your edits clean, sync your beats carefully, and use effects strategically. The key to cinematic perfection is subtlety and precision.
If you found this helpful, make sure to share it and subscribe to the channel for more such creative editing tutorials. See you in the next one!


