Edit Normal Videos into DSLR Style with Instagram Edit Application
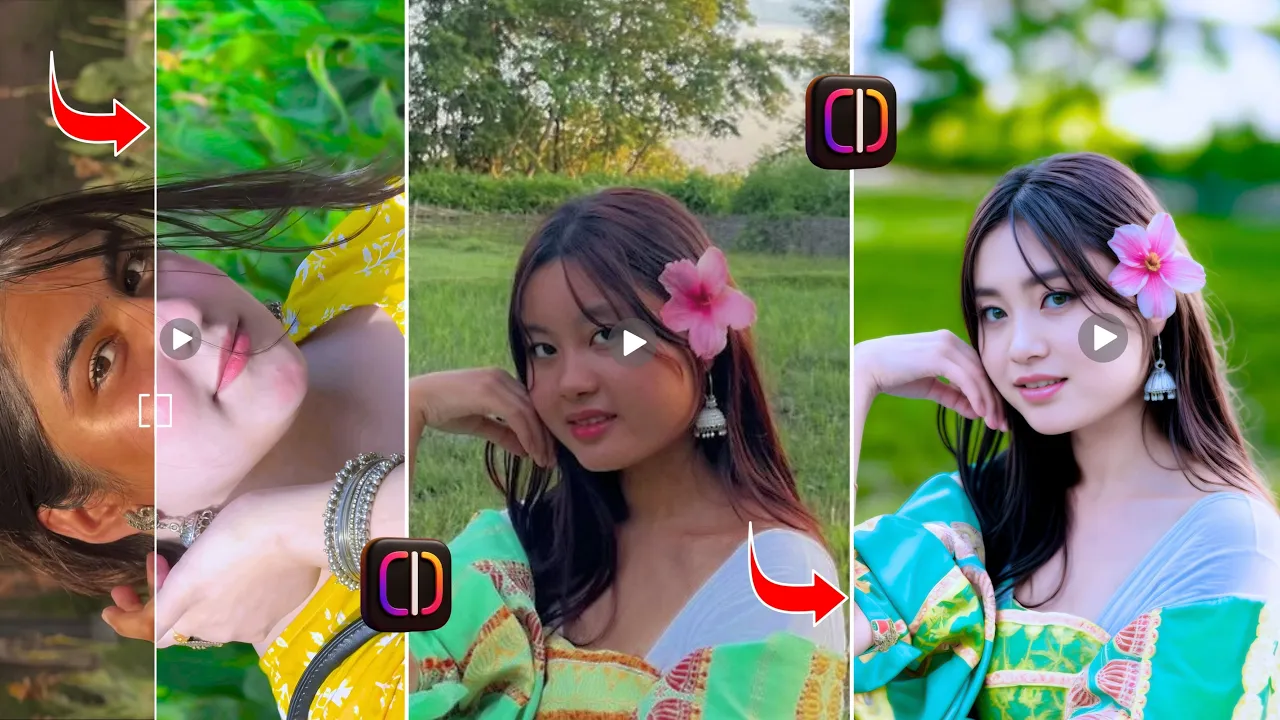
So guys, you can also take your normal videos and make them look DSLR-like with just one click. You can enhance skin tone, blur the background, and even highlight black skin tones easily. This can all be done using Instagram’s editing application. With just one click, you can make your video look sharper and more professional.
Step 1: Download Instagram Edit App
First of all, go to the Google Play Store and download the Instagram Edit application. Once installed, open the app and give it the required permissions. Sign in with your account and you’ll see an option where you can watch reels and edit your videos. At the middle of the screen, click on the plus icon and select your normal video clip from the gallery.
Step 2: Add and Overlay Your Video
Select the video clip you want to edit. Suppose your video background is not blurred, you can fix that here. Go to the Overlay option and add the same video clip again. Adjust the first video by going into Adjust. Increase the saturation to full, slightly increase the contrast, and tick to save it. This will help highlight the background.
Step 3: Apply Blur Effect
Now, go to the Effects option and choose Blur. Apply the blur to the background and tick to confirm. Next, click on the overlay video and zoom it properly with two fingers so it matches the original clip exactly. Then go to the Cut Out option and select Tracking Object. With the help of AI, the app will remove the background just like DSLR-quality editing. Click done, and now your background is removed.
Step 4: Apply Filters and Adjustments
After background removal, tap on the overlay video and apply a highlight filter. Adjust the filter amount as per your choice for the best skin tone. Then go back to Adjust options:
- Increase brightness slightly.
- Increase contrast slightly.
- Reduce saturation for natural skin tone.
- Reduce temperature a little.
- Increase highlights and reduce shadows.
- Increase sharpness up to around 60–70.
Now you can clearly see the before and after difference. The video looks much fairer, and the background is blurred like DSLR shots.
Step 5: Export in High Quality
Once you are satisfied with your editing, click on the export option at the top. You can export videos in 2K or even up to 4K quality, depending on your phone’s support. Export the video and save it to your gallery.
Conclusion
So guys, that’s how you can turn your normal videos into DSLR-like professional edits with just one click using Instagram’s edit application. Try this out and let me know in the comments how your background blur and skin tone enhancement came out. Stay tuned for more trending editing tutorials in the next video.