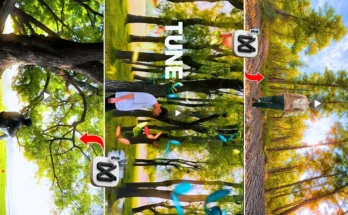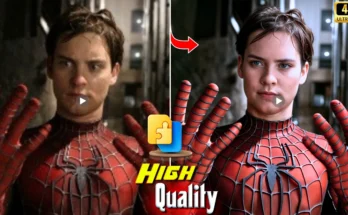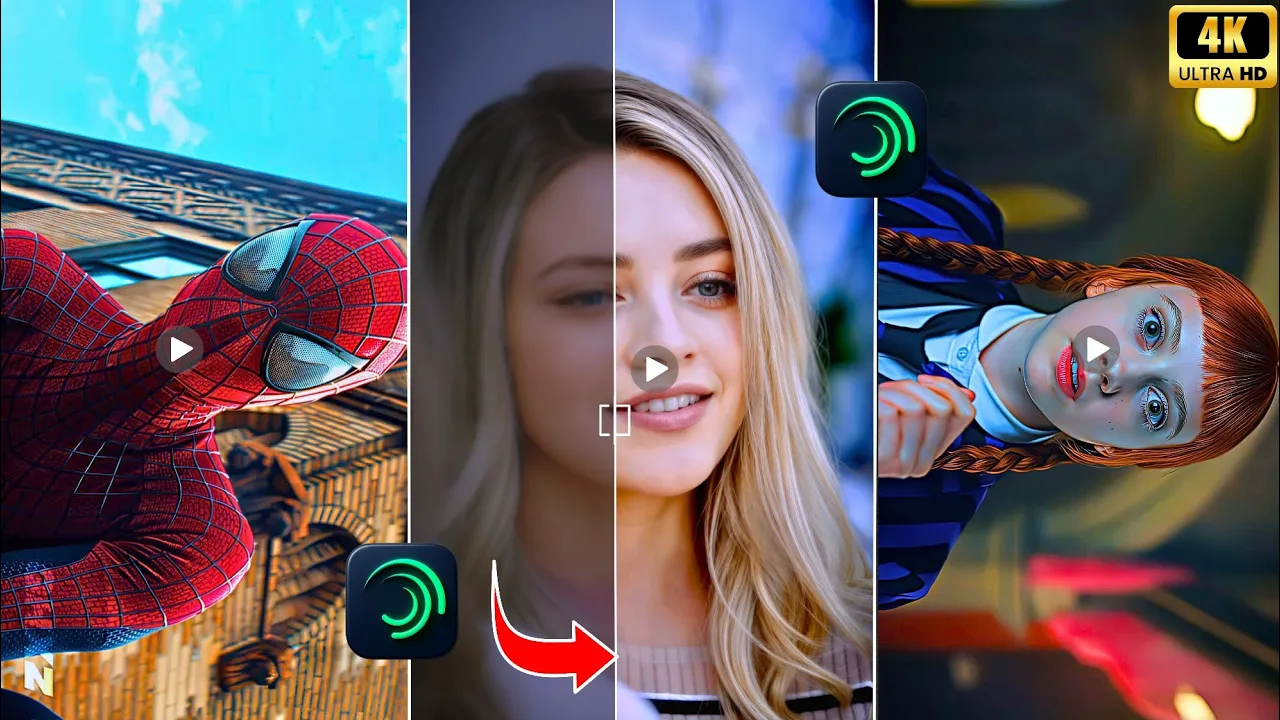
Enhance Videos to High Quality for Free Using Alight Motion
So guys, you can also enhance videos in high quality like this. I will show you a brand-new trick that you can use to enhance your video for free. You can increase the quality of your video and apply 100% detailing. This method will give your video a very realistic look, and you can enhance videos completely free using the Alight Motion application.
Step 1: Install the Free Video Enhancement App
So guys, first we will use everything free. For this, open the Google Play Store. You can install the Air VI application for free. After installation, open it and allow permission. Then click the plus icon.
Using AI Repair Tool
After clicking, go to the tools option. From here, we will first use AI Repair. This feature adjusts light and enhances the video. Make sure to set the quality and resolution to full (except color). This app enhances the video as much as possible for free.
Step 2: Enhance with Alight Motion Application
After AI enhancement, we will use the Alight Motion application to apply trending effects and convert the video into Ultra HD quality. No HDR, just pure realistic detailing with 100% accuracy.
Create a New Project
Open Alight Motion, create a new project, and select the Instagram frame in 4K. Then click the plus icon and select your video. The video will be added automatically.
Apply Trending Effects
Now we will apply new trending effects for high-quality enhancement with full detailing:
- Click the plus icon → Select a shape → Compress Fill Area → Apply full screen.
- Go to Effects → Add Effect → Search for Copy Background and apply with standard settings.
- Add Gaussian Blur → Adjust amount around 100.
- Add Exposure Gamma → Set amount around -1.
Blending and Opacity
After applying effects, go to Blending → Opacity → Select Difference. This gives better video detailing without HDR.
Step 3: Add More Enhancement Layers
Next, create another layer using a shape, set its color to white, and apply Overlay blending. Keep the amount around 90. Add another shape and apply these effects:
- Copy Background
- Sharpness (set around 60)
- Saturation (adjust skin tone as per your choice)
- UN Filter (set first option to zero)
- Soft Glow (adjust brightness around 10–20)
Step 4: Export the Video
After applying all effects, extend the layers from start to end of the video. Long press the layers, and then export your video. After export, you will notice how much the video quality has increased. The detailing will be much better even without HDR.
Final Save
Click the save button to save your enhanced video. If you create the XML file once, you can reuse it again and again just by replacing the video. I hope you understood this tutorial. So guys, see you in the next video with another trending editing trick.