So guys, if you also want to enhance your videos, improve skin tone, and blur the background just like a DSLR effect, you can do all of this in 4K editing. With just one click, using the VN App, you can edit your normal videos into high-quality professional results. In this tutorial, I’ll show you step by step how to edit, so make sure to watch carefully and don’t skip any step.
Step 1: Install the VN Application
First, install the VN App from Play Store. Once installed, open it. You’ll see a plus icon – click on it. Select New Project and then add your video from your folder.
Step 2: Duplicate and Overlay
After importing your video, you may notice the screen looks red-toned, with no blur and low quality. To fix this, duplicate the video and add it to the overlay track. Drag it to the start of the timeline, then delete the black screen part. Adjust the first video clip and prepare it for background blur.
Step 3: Apply Filters and Adjustments
Go to the filter option and then adjust settings. Increase saturation to around 90, reduce temperature slightly, and adjust HSL for background tones. For example:
- Green tone – increase saturation & lightness
- Yellow tone – increase saturation & brightness
This step makes your background look cinematic while keeping focus away from skin tone.
Step 4: Blur the Background
Select the first video clip as your background layer. Apply the Basic Blur effect and keep the amount around 20–25 to make it look realistic, just like DSLR blur. Then fit it to full screen and use Chroma Key to remove unnecessary background colors, adjusting to around 70.
Step 5: Adjust Skin Tone
Now for the overlay video (your main subject), adjust filters carefully. Don’t overuse filters – instead, manually tweak settings:
- Increase exposure slightly
- Add a little contrast
- Reduce brightness slightly
- Reduce saturation to avoid too much redness
- Reduce temperature slightly
- Increase highlights around 60–70
- Add sharpness around 22
Then use HSL to brighten red and orange tones for natural skin. Keep green and yellow tones consistent with your background settings.
Step 6: Export in 4K
Once done, export your video. Use settings:
- Resolution: up to 4K
- Bitrate: Full
- FPS: 60
This gives you a professional 4K DSLR-style result directly from your phone.
Step 7: Enhance Further with AI Tools
To make the video even better, use AI apps like Airw or Remini AI. These tools allow you to:
- Repair video quality
- Enhance up to 4K resolution
- Denoise video
- Improve night view (optional)
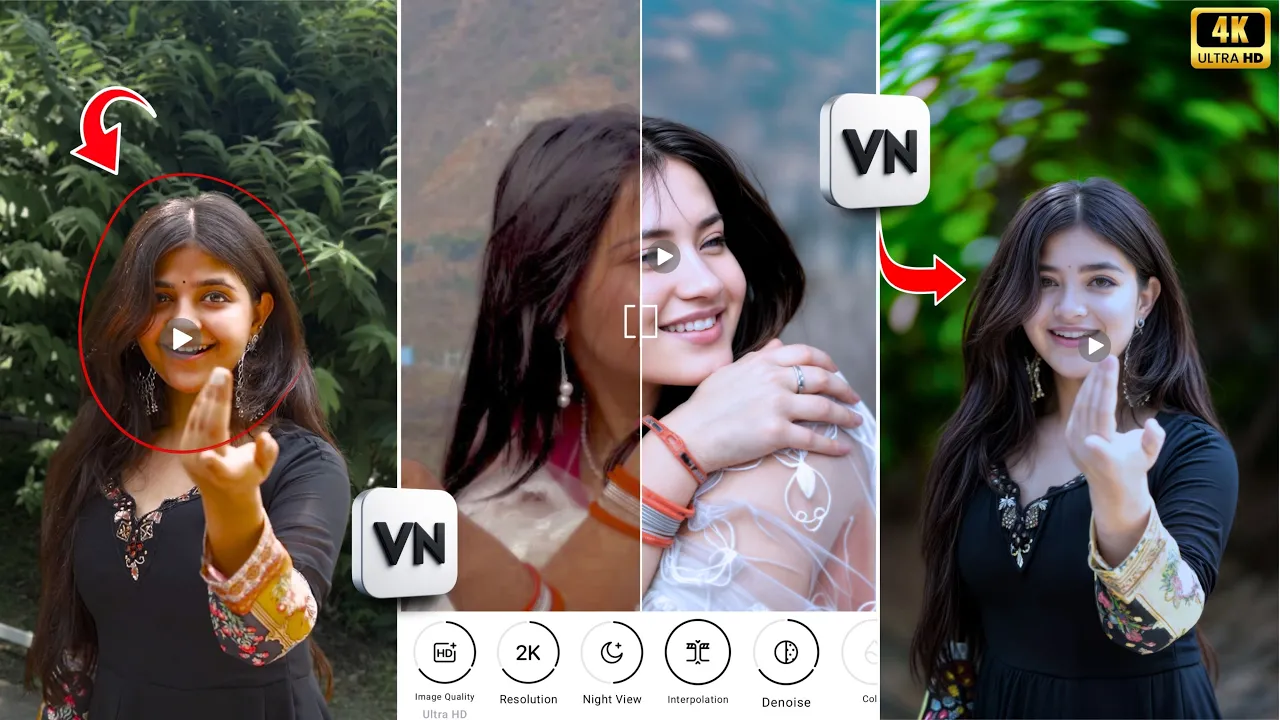
Just open the app, upload your video, enable AI repair, set image quality to full, and export. In 2–3 minutes, your video will be enhanced with visible before-and-after improvements.
Final Results
As you can see, the skin tone becomes highlighted, background gets DSLR-style blur, and overall video looks cinematic. The final export in 4K gives you high-quality professional results – all using free apps on your phone.
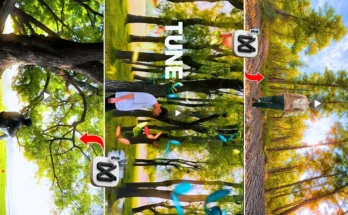
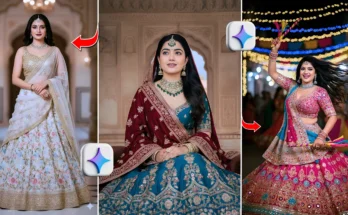
If you want more tutorials on mobile editing, check out:
Now it’s your turn! Try these settings on your next project and see how your normal videos transform into professional DSLR-like edits.