How to Enhance Your Videos to 4K with Just One Application
So guys, you can also enhance your videos just like this. With just one click, using a single application, you can do color grading, video enhancement, and even blur the background. Yes, just one application is enough! And the best part is, you can use it absolutely free to enhance your videos up to 4K resolution.
Where to Install the Application
So, where will you install it from? I will show you everything step by step. I tried installing it from the Play Store, but you won’t find it there. That’s why you need to watch the full video to understand where to install it from. Everything will be shown in detail.
How to Use the Application
First, install the application. After installation, open it. This is the Mute Application. When you open it, allow the necessary permissions. Inside, you will find many options like:
- Video Editing
- Video Enhance
- AI Repair
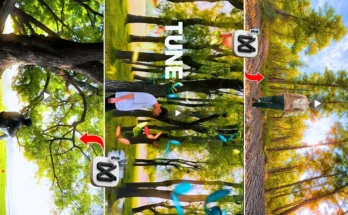
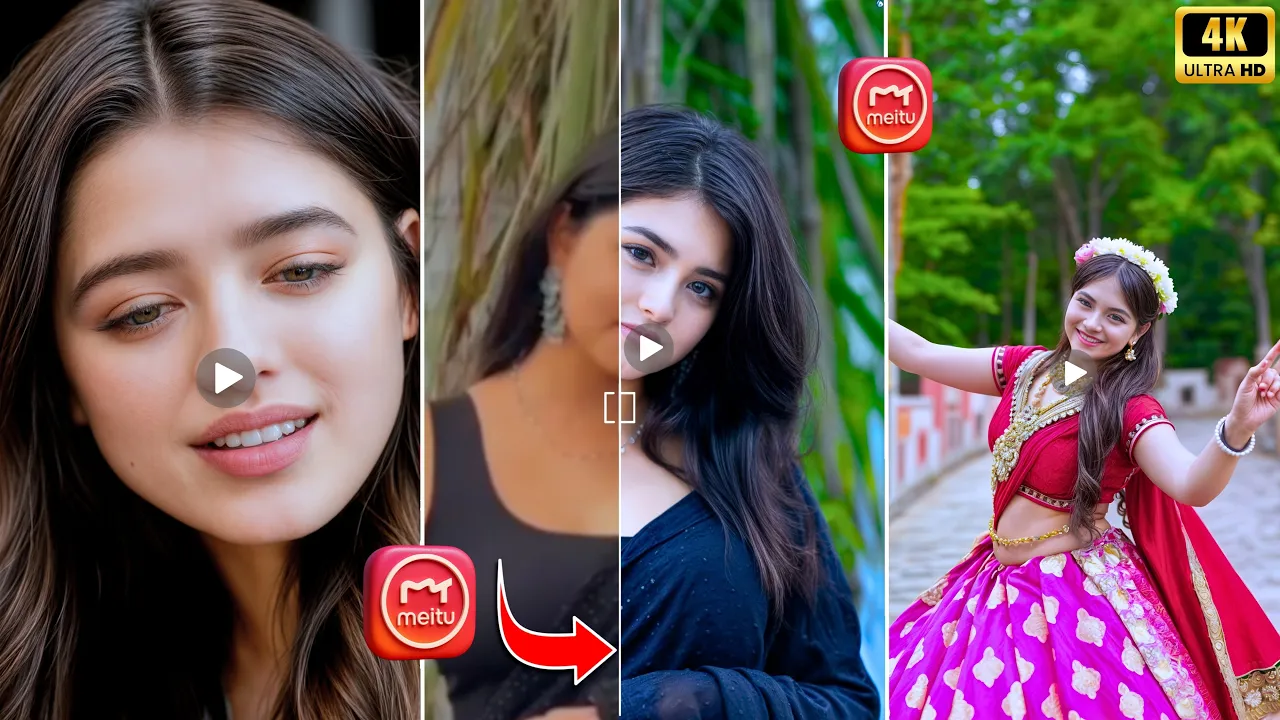
After that, click on Edit Video and select your video from the gallery. For example, I selected a 480p video that was blurry and had poor color grading. Let’s enhance it step by step.
Applying Filters and Color Grading
First, go to the Filter option. Here, you will find different filters just like in the CapCut App. Select a 4K HDR Filter. Once applied, adjust the filter amount to around 30. Then click confirm.
Next, for color grading, go to the Adjust option. Increase the brightness slightly, add some contrast, and adjust saturation. Sharpen the video around 60–70. You can also use HSL (Hue, Saturation, Lightness) for advanced tone editing like:
- Red Tone – adjust brightness and saturation
- Orange Tone – highlight skin tones
- Green Tone – for background color correction
- Blue Tone – perfect for skies
After adjusting tones, reduce highlights and slightly decrease temperature for a balanced look.
Retouching and Smoothing
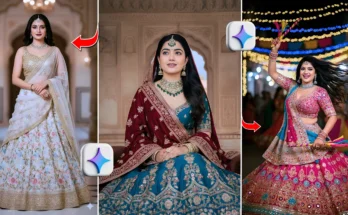
Next, go to the Retouch option. You will find options like Smooth, Body, Face, Auto Retouch, Skin Tone, Hair, etc. For simplicity, I used Auto Smooth. You can also apply skin tone adjustments if needed.
Enhancing Video Quality to 4K
Now, scroll and click on AI Repair. This option automatically increases video resolution and detail. Before starting, make sure to connect your phone to a VPN, otherwise HD quality enhancement won’t work. I connected using a U.S. server, and after that, my video was enhanced to 4K.
You can clearly see the Before and After results – a huge difference in quality and clarity.
Adding Effects and Blur
Next, we will use the Effects option. Search for “Blur” in the search bar. Just like in InShot or CapCut, you will find blur effects here too. Select the blur effect, set the amount around 50–70, and apply it throughout the video.
Exporting the Final Video
Finally, save your video. You can export in 4K resolution at 30fps. To install the application, you will find the download link on my WhatsApp channel. From there, you can easily download it and start editing.
Conclusion
So guys, this is how you can enhance your videos up to 4K quality, add professional color grading, retouch faces, and blur the background – all with just one free application. The results are really amazing and worth trying. Before and after comparisons clearly show how powerful this app is.
Stay tuned for more trending editing tutorials. See you in the next video. For now, bye!